Picture representation by PowerPoint Designers
In a recent project, we were presented with a document containing a multitude of images. Our task was to enhance these images using external tools and then incorporate them into PowerPoint. As we explained the capabilities of PowerPoint’s Picture tools to our client, they were amazed by the possibilities. It seems that many people are unaware of the robust image editing features available within PowerPoint. In this article, we will delve into the various tools and techniques for manipulating images in PowerPoint.
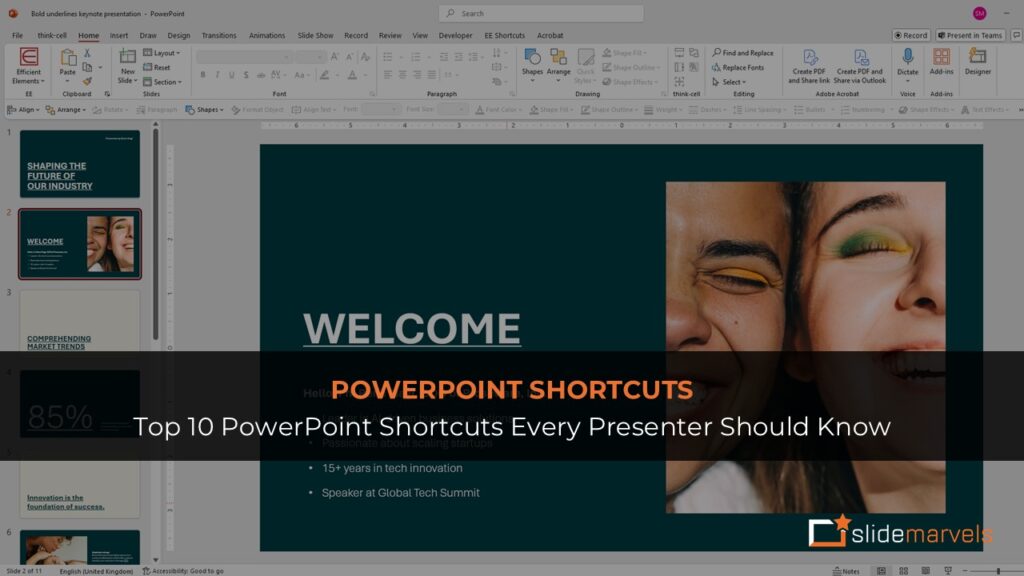
Using Plain Images with Text in PowerPoint
One simple yet effective way to incorporate images into your presentation is to use them as a background and overlay text on top. By disseminating the image across the entire slide and placing the text strategically, you can create visually appealing slides that convey your message effectively.
Giving Images a Shape in PowerPoint
PowerPoint offers the ability to give images various shapes, allowing for creative and dynamic visual presentations. Here’s a step-by-step demonstration of how to give shapes to pictures:
a) Filling a shape with a picture:
- Insert the desired shape onto the slide.
- Save the image you want to use in the same destination folder.
- Right-click the shape and select “Format shape.”
- Under the “Fill” menu, choose “Picture or texture fill.”
- Select “Insert” in the “Picture Source” section.
- Choose “From a file” and open the image from the destination folder.
Following these steps, the shape will be filled with the image, effectively converting it into an image itself.
b) Converting a Picture:
- Copy the image and paste it onto the PowerPoint slide.
- Select the image, go to “Picture Tools,” and click on “Size.”
- Under “Crop,” click on “Crop to Shape” to convert the picture into the desired shape.
PowerPoint Designer: Highlighting the Difference
While the final output may appear similar, there are significant differences between converting a shape into an image and converting a picture into a shape. Converting a shape into an image allows for editing the shape using the “Drawing tools” and the image using the “Picture tools.” However, converting a picture into a shape restricts access to the extensive editing options available for shapes, as the “Drawing tools” option is disabled. The choice between converting a picture into a shape or filling a shape with a picture depends on the specific requirements of the presentation.
Editing Images
Exploring the Picture Tools
PowerPoint offers a range of editing options through its “Picture Tools.” Let’s explore some of the key features:
Remove Background
This option is useful when you want to isolate an object from its background. By selecting the image and using the “Remove Background” feature, you can manually choose which areas to keep and which to remove.
Corrections
Adjust the brightness, contrast, and sharpness of an image using the “Corrections” tool, ensuring your visuals are optimized for clarity and impact.
Color
Change the color of an image to match your presentation template using the “Color” tool. Based on the color scheme of your template, you will be presented with suitable color options.
Artistic Effects
Add artistic effects to your images using this feature, allowing you to transform ordinary visuals into captivating works of art.
Compress Pictures
When a presentation contains numerous images, it can lead to increased file size. The “Compress Pictures” tool offers options to reduce file size while maintaining visual quality, enabling you to optimize your presentation.
Change Picture
At any point, you can replace an image with a different one while retaining the formatting and positioning of the original image.
Reset Picture
If you need to revert an image back to its original appearance, the “Reset Picture” option allows you to do so effortlessly.
Picture Styles
Experiment with different styles to give your images a polished and professional look. PowerPoint provides a range of pre-designed picture styles that you can apply with a single click.
Arrange
Use the “Arrange” tool to control the layering and positioning of your images. Bring images to the front or send them to the back, rotate them, align them with other objects or images, and create visually appealing compositions.
Size
The “Size” tool offers options to crop, resize, and reshape your images, providing flexibility in adjusting the visual elements to suit your presentation’s needs.
By leveraging these powerful Picture tools, you can elevate the impact of your images and create visually stunning presentations.
In conclusion, PowerPoint offers a treasure trove of image editing capabilities that often go unnoticed. By utilizing plain images with text, giving images unique shapes, and leveraging the various editing features within the Picture Tools, you can unlock the full potential of PowerPoint as a versatile and effective tool for image enhancement. Whether you are creating business presentations, educational materials, or artistic displays, mastering these techniques will allow you to captivate your audience and deliver visually compelling content. Embrace the power of Picture tools in PowerPoint and take your presentations to new heights of excellence.